Linen Info

From: http://artisanssquare.com/sg/index.php?topic=874.0

LINEN WEIGHTS:

Sheer Weight (2.5 oz/yd2)
Thread count warp : 38
Thread count weft : 34
Curtains, apparel

Light Weight/Handkerchief (3.5 oz/yd2)
Thread count warp : 51
Thread count weft : 43

Middle Weight (5.3 oz/yd2)
Thread count warp : 46
Thread count weft : 37
apparel, bedding, pillowcases, interior design, home furnishings

Heavy Weight (7.1 oz/yd2)
Thread count warp : 38
Thread count weft : 32
apparel, placemats, napkins, table runners, bath towels, kitchen accessories

Canvas Weight (9.1 oz/yd2)
Thread count warp : 21 – 52
Thread count weft : 34 – 62
apparel, placemats, napkins, table runners, bath towels, kitchen accessories

Higher priced/premium linens usually have a higher thread count per inch.

Linen Sources:

Ulster Linen – https://ulsterlinen.com/

Fabrics Store – https://fabrics-store.com/

Couture Lin – http://www.couturelin.us/


I’m so very happy I am almost beside myself!

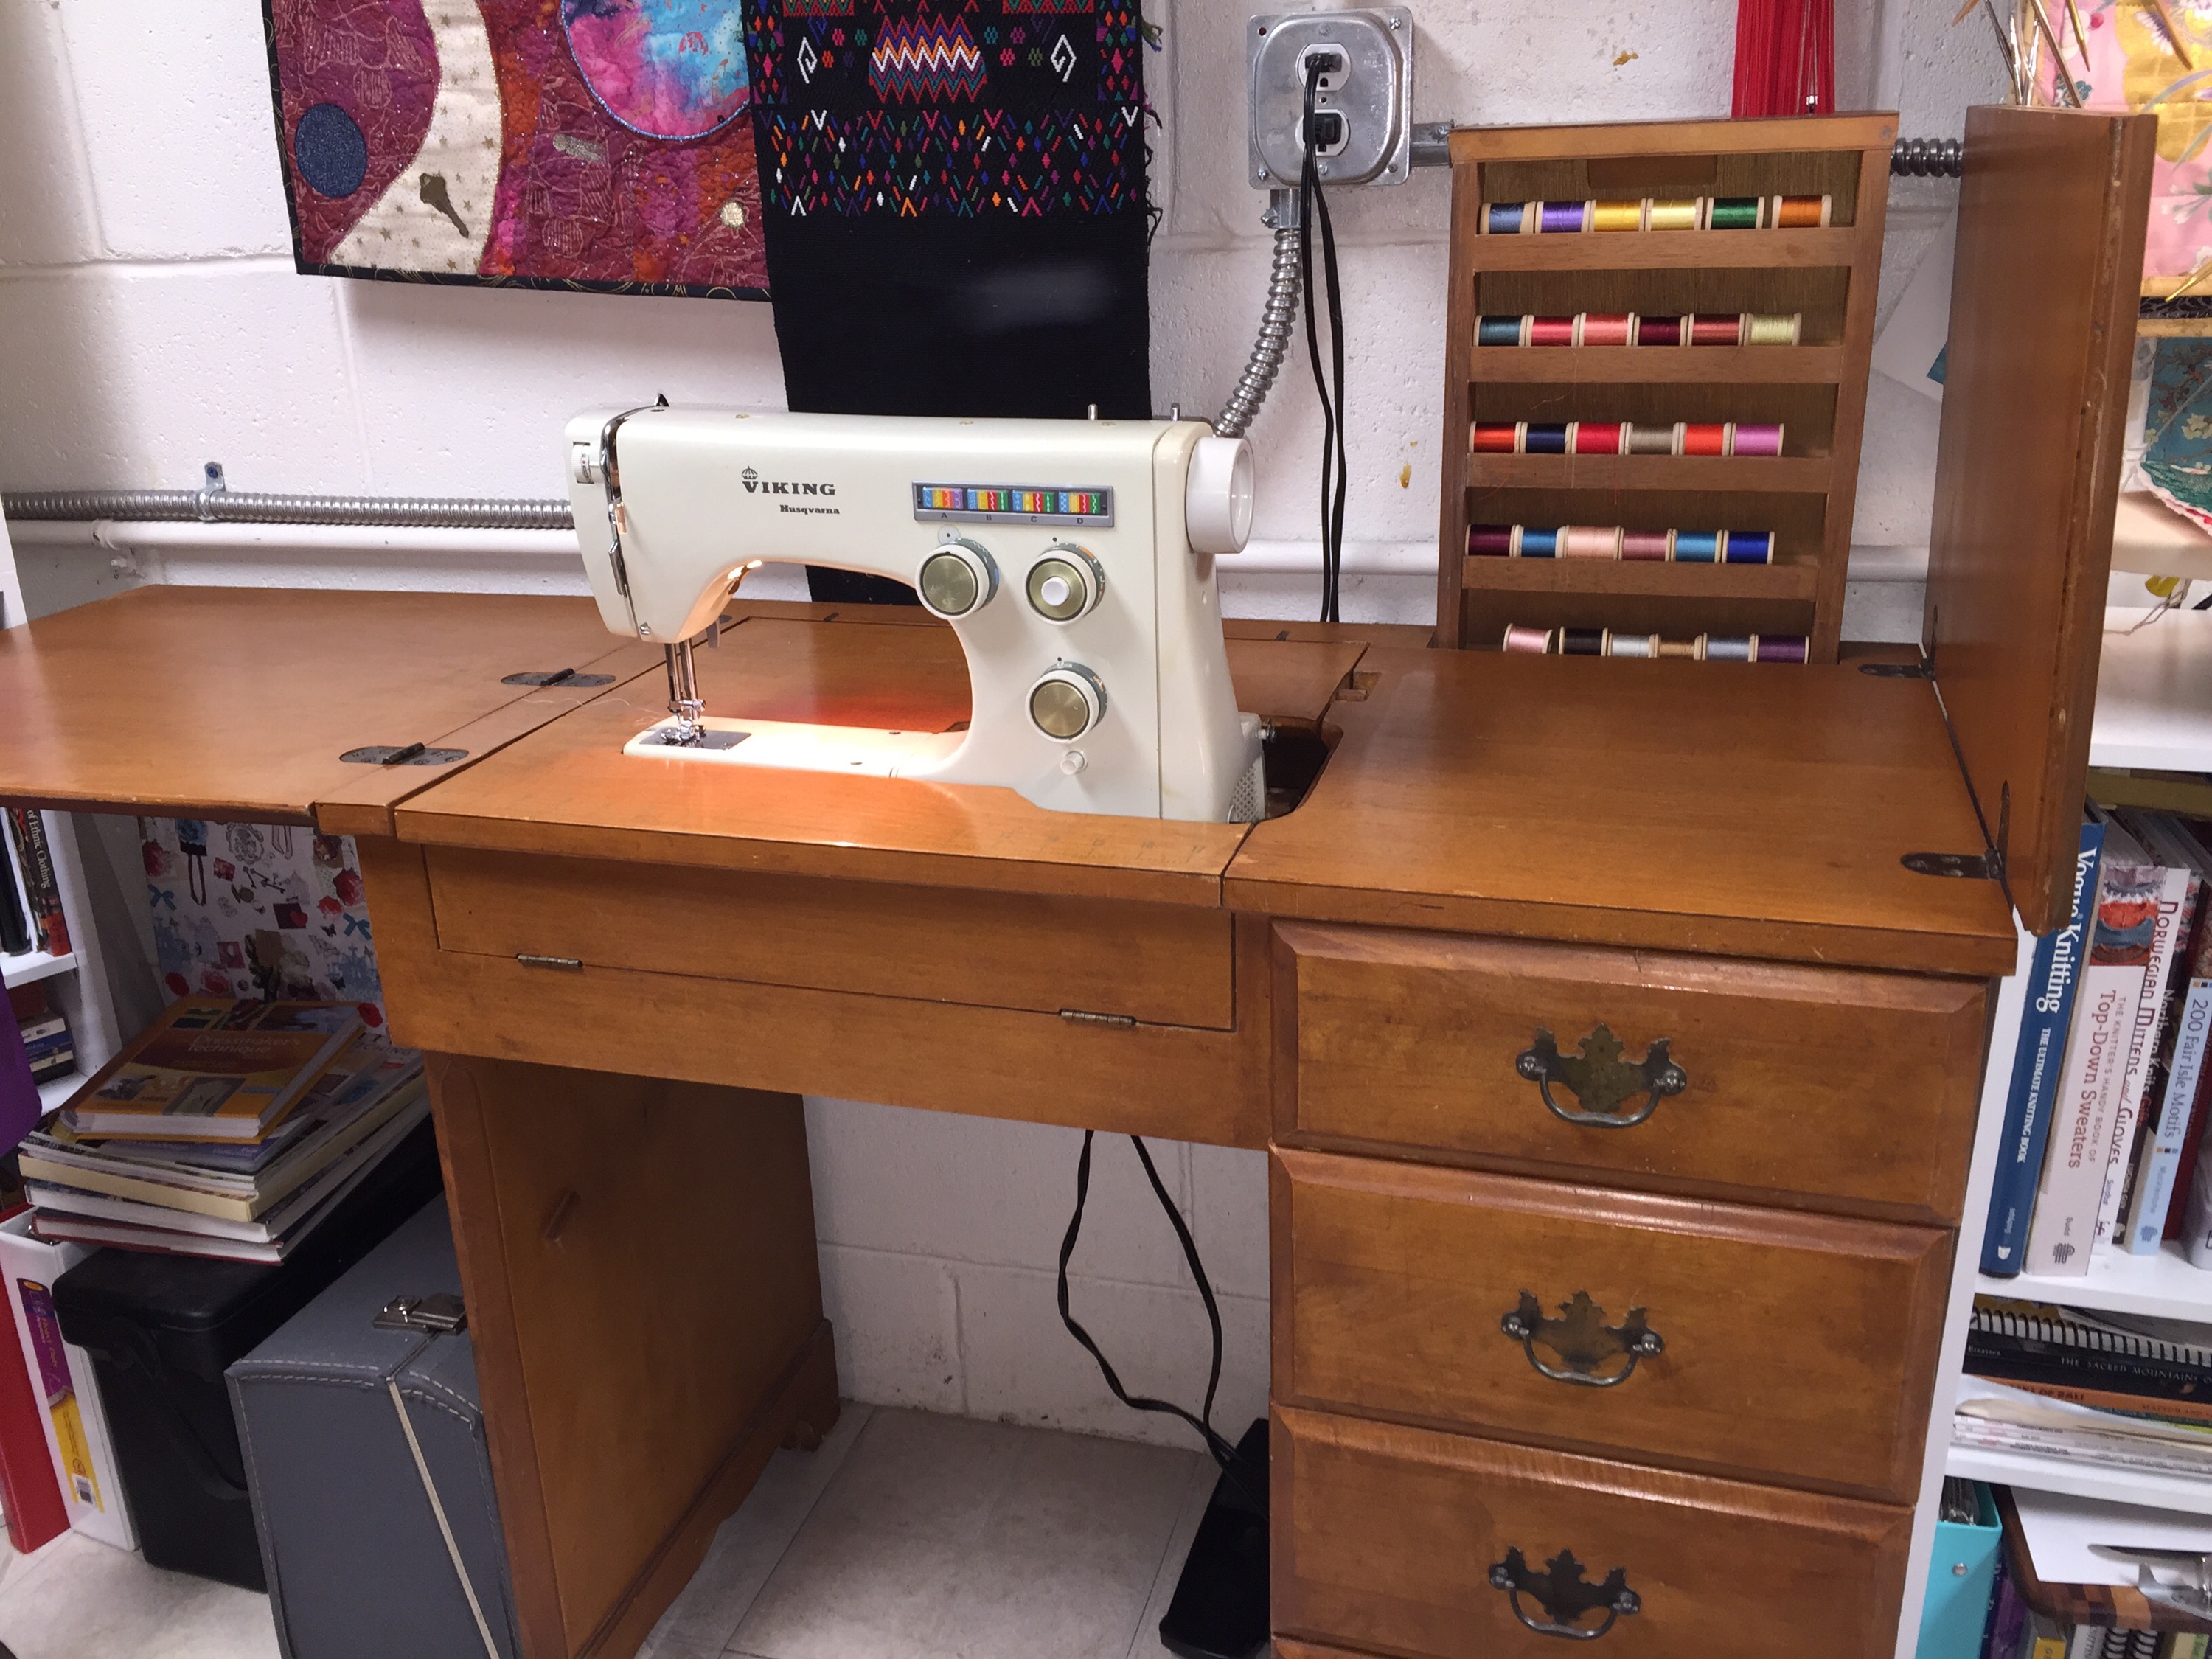
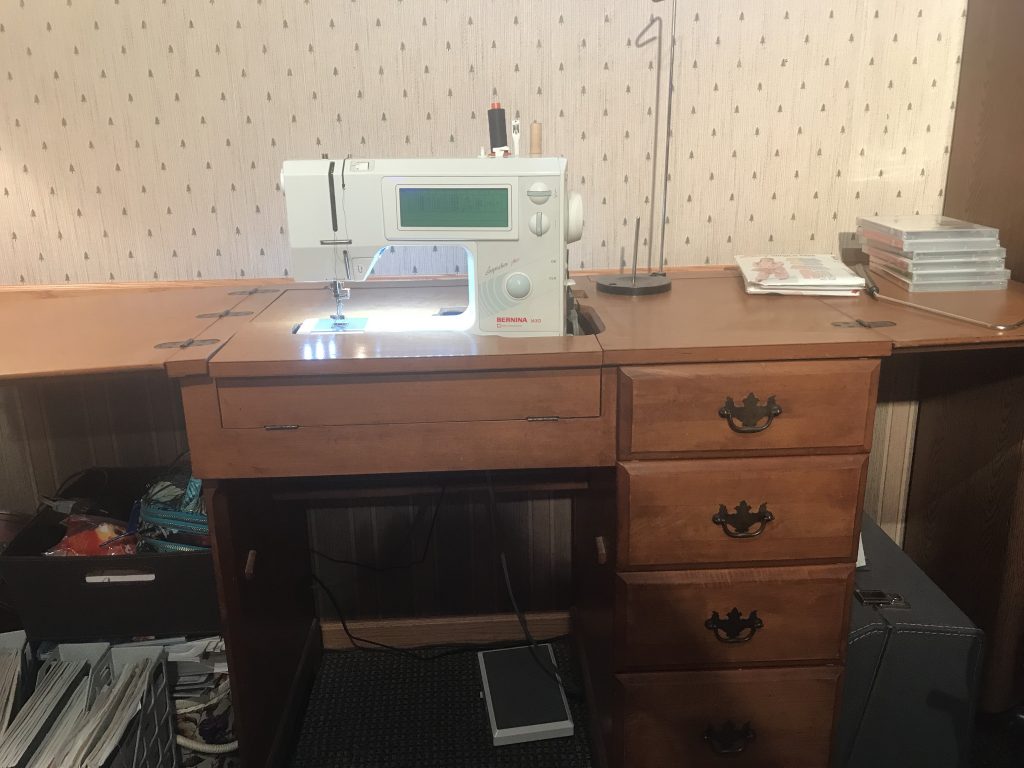
Today is definitely a stay at home day, after digging out from yesterday’s snowstorm. As I was laying in bed trying to get to sleep last night, my head was spinning with all sorts of sewing related ideas after spending all of Friday and Saturday at Bernina Academy learning how to master difficult fabrics. Suddenly, I had a brilliant idea. What if the beautiful sewing table I have downstairs in the den, which currently houses that lovely vintage Viking 6020, could be retrofitted to fit my 1630?! Could I make the 1630 fit? Would it take a lot of time?

This morning I was downstairs in the basement doing some work on my computer, trying to cool down and relax after so much shoveling, and I decided to try out my idea. I took the 1630 acrylic insert out of my Gidget II table and tried it on the wood sewing desk. An almost perfect fit except for about a half inch in one corner that needed tweaking. I got out my tools and hacksaw, unmounted the Viking 6020 and about a half hour later had my 1630 sitting beautifully in that solid oak desk, with drawers even!, that makes sewing SO (SEW?) much more enjoyable. I was so happy I coulda almost peed when it was done!

And if you aren’t sure what that means for my sewing room, I will tell you! It means I get my sewing workbench back, my serger can be left up permanent right next to my 770, my Brother can be left set up with the embroidery unit attached, and I still get to leave my Pfaff Performance 5 set up in a recessed table as well. I am BEYOND happy at the moment. Why in the world did I not think of this sooner?????


We can forgive ourselves …

Sometimes the kindest thing you can do for yourself is to forgive yourself for not knowing something when you didn’t know it.  And being grateful instead that you have finally learned the lesson helps too.

Every since I begin making quilts in the spring of 1996, I have admired the machine quilting skills of others, especially those who make gorgeous quilts on their domestic machines at home.  I machine quilted the first quilt I ever made, be it ever so badly, and after that almost always sent my quilts out to be quilted by a long-arm professional.  I’ve never been disappointed with the results as I’ve always found long arm quilters who were exceptional at their craft, and adding their machine quilting skills to my piecing and design work was a collaboration I was happy to acknowledge. But as time has gone by, I’ve started making more quilt tops than I have money to get them quilted, and I also really started feeling this desire to make the entire quilt myself, to know that I was the creator of this quilt, for better or for worse, from beginning to end.

In November 2015 I took two machine quilting classes from Cindy Souder at the Minneapolis Sewing & Quilting Expo.  It would not be an understatement to say that experience changed my life.  Yes, she taught techniques, ones that I could duplicate at home and get good results – everything from using a walking foot to free motion quilting to using traced patterns.  She gave lots of pointers, some of which I already knew, like the value of using quilting gloves (which work exceptionally well for me), using a silicone slider on the machine bed, and about ergonomics and so forth.  But what she really taught me was something far more useful and elusive.  She taught me confidence.  And that is no small feat!  She taught me how to get over that fear of looking at the quilt and the machine and going “Nope – someone else is gonna do that!”  I left those two classes absolutely knowing that I could, in fact, quilt my own quilts and, with practice, actually become good at it.

Now, if you know me, you know that these classes were where I also fell in love with the Bernina 770QE that we used in class to do all our work.  I ended buying one of the classroom machines, as they offered them at a 33% discount when the weekend was done.  And I was the only person who had sewn on machine #12 that whole weekend, so I knew very well how perfectly this machine worked.  And it was a joy to get it home finally and begin some practice pieces.  My greatest creative accomplishment this past year was finishing a quilt for Diana and Jonathan.  It was a huge quilt, some 95″ x 115″, and was entirely quilted by me over a period of two to three months.  It gave me a great sense of satisfaction to get that quilt done, and I had a lot of fun sewing it too!

A few months ago, I decided to make some pieced and quilted place mats.  I wanted to use some of those beautiful heirloom-style stitches on my Viking Opal 690Q.  Viking has some gorgeous decorative stitches that seem unique to them.  I finished piecing the place mats some time ago, and pulled them out this week to figure out how to quilt them and get them finished.  Since my 77QE was set up for another project, I decided to use my trusty old Bernina 1630, the sewing love of my life.  I had recently acquired a #29 foot for my 1630, the clear quilting foot, and figured the smaller harp size on the 1630 wouldn’t present too much of a challenge for the small-ish place mats.  I threaded up the machine, put on the new foot and my gloves and finally sat down to quilt them this weekend.  And you know what?  That 1630 free motion quilts like a DREAM!  Utterly smooth, quiet, perfect tension top and bottom – just exquisite.  And for 22 years I have had that machine, and for most of those 22 years I have wasted time wishing that I was a good machine quilter.  But if you can never allow yourself to be a beginner at something, to even be bad at it, then how in the world are you ever going to gain the skill necessary to become good at it?  And as I sat there thrilled at the results I was seeing taking place in front of me, I was also keenly aware of the time over these years that I wasted simply wishing to develop a skill for which I already possessed everything I needed – but I just didn’t know it.  Perhaps if I had trusted myself a little more, I might have made a few more tentative attempts, might have learned how wonderful that 1630 really was for what I wanted to do.  Don’t get me wrong, I still love the extra space and the super large bobbins of my 770QE – both things make good results easier and faster to achieve.  But, honestly, when I think of the table runners, place mats, baby quilts, and other quilts I could have spent my time learning and working on, perfecting skills, instead of wasting those years only wishing for it … well, it gave me great pause.

Like I said, sometimes the kindest thing you can do for yourself is to forgive yourself for not knowing something when you didn’t know it.
Sometimes the old technology was better …

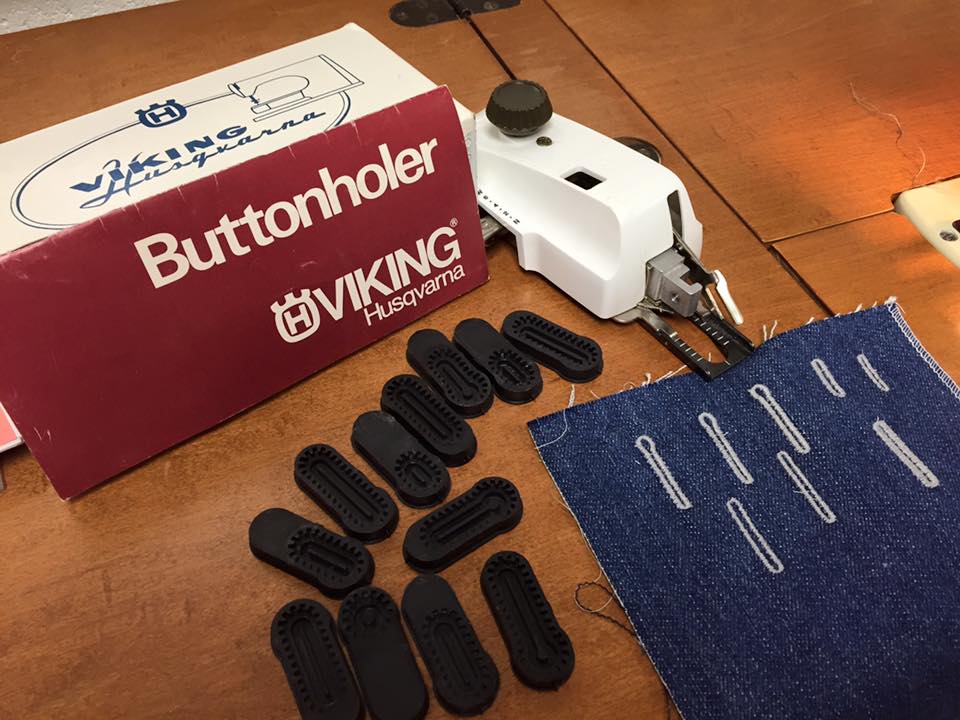
buttonholer

Oh, Mr. Greist, where have you been my entire sewing life? Though branded to go with my vintage Viking 6020 machine, this is really just a Greist buttonhole attachment I found on e-Bay for $15 – best sewing money I have ever spent! It makes absolutely and perfectly consistent buttonholes with one of 13 cams. And you can adjust bead size and gap spread to your heart’s content – an amazing piece of antique sewing technology!!!


A fun little project …

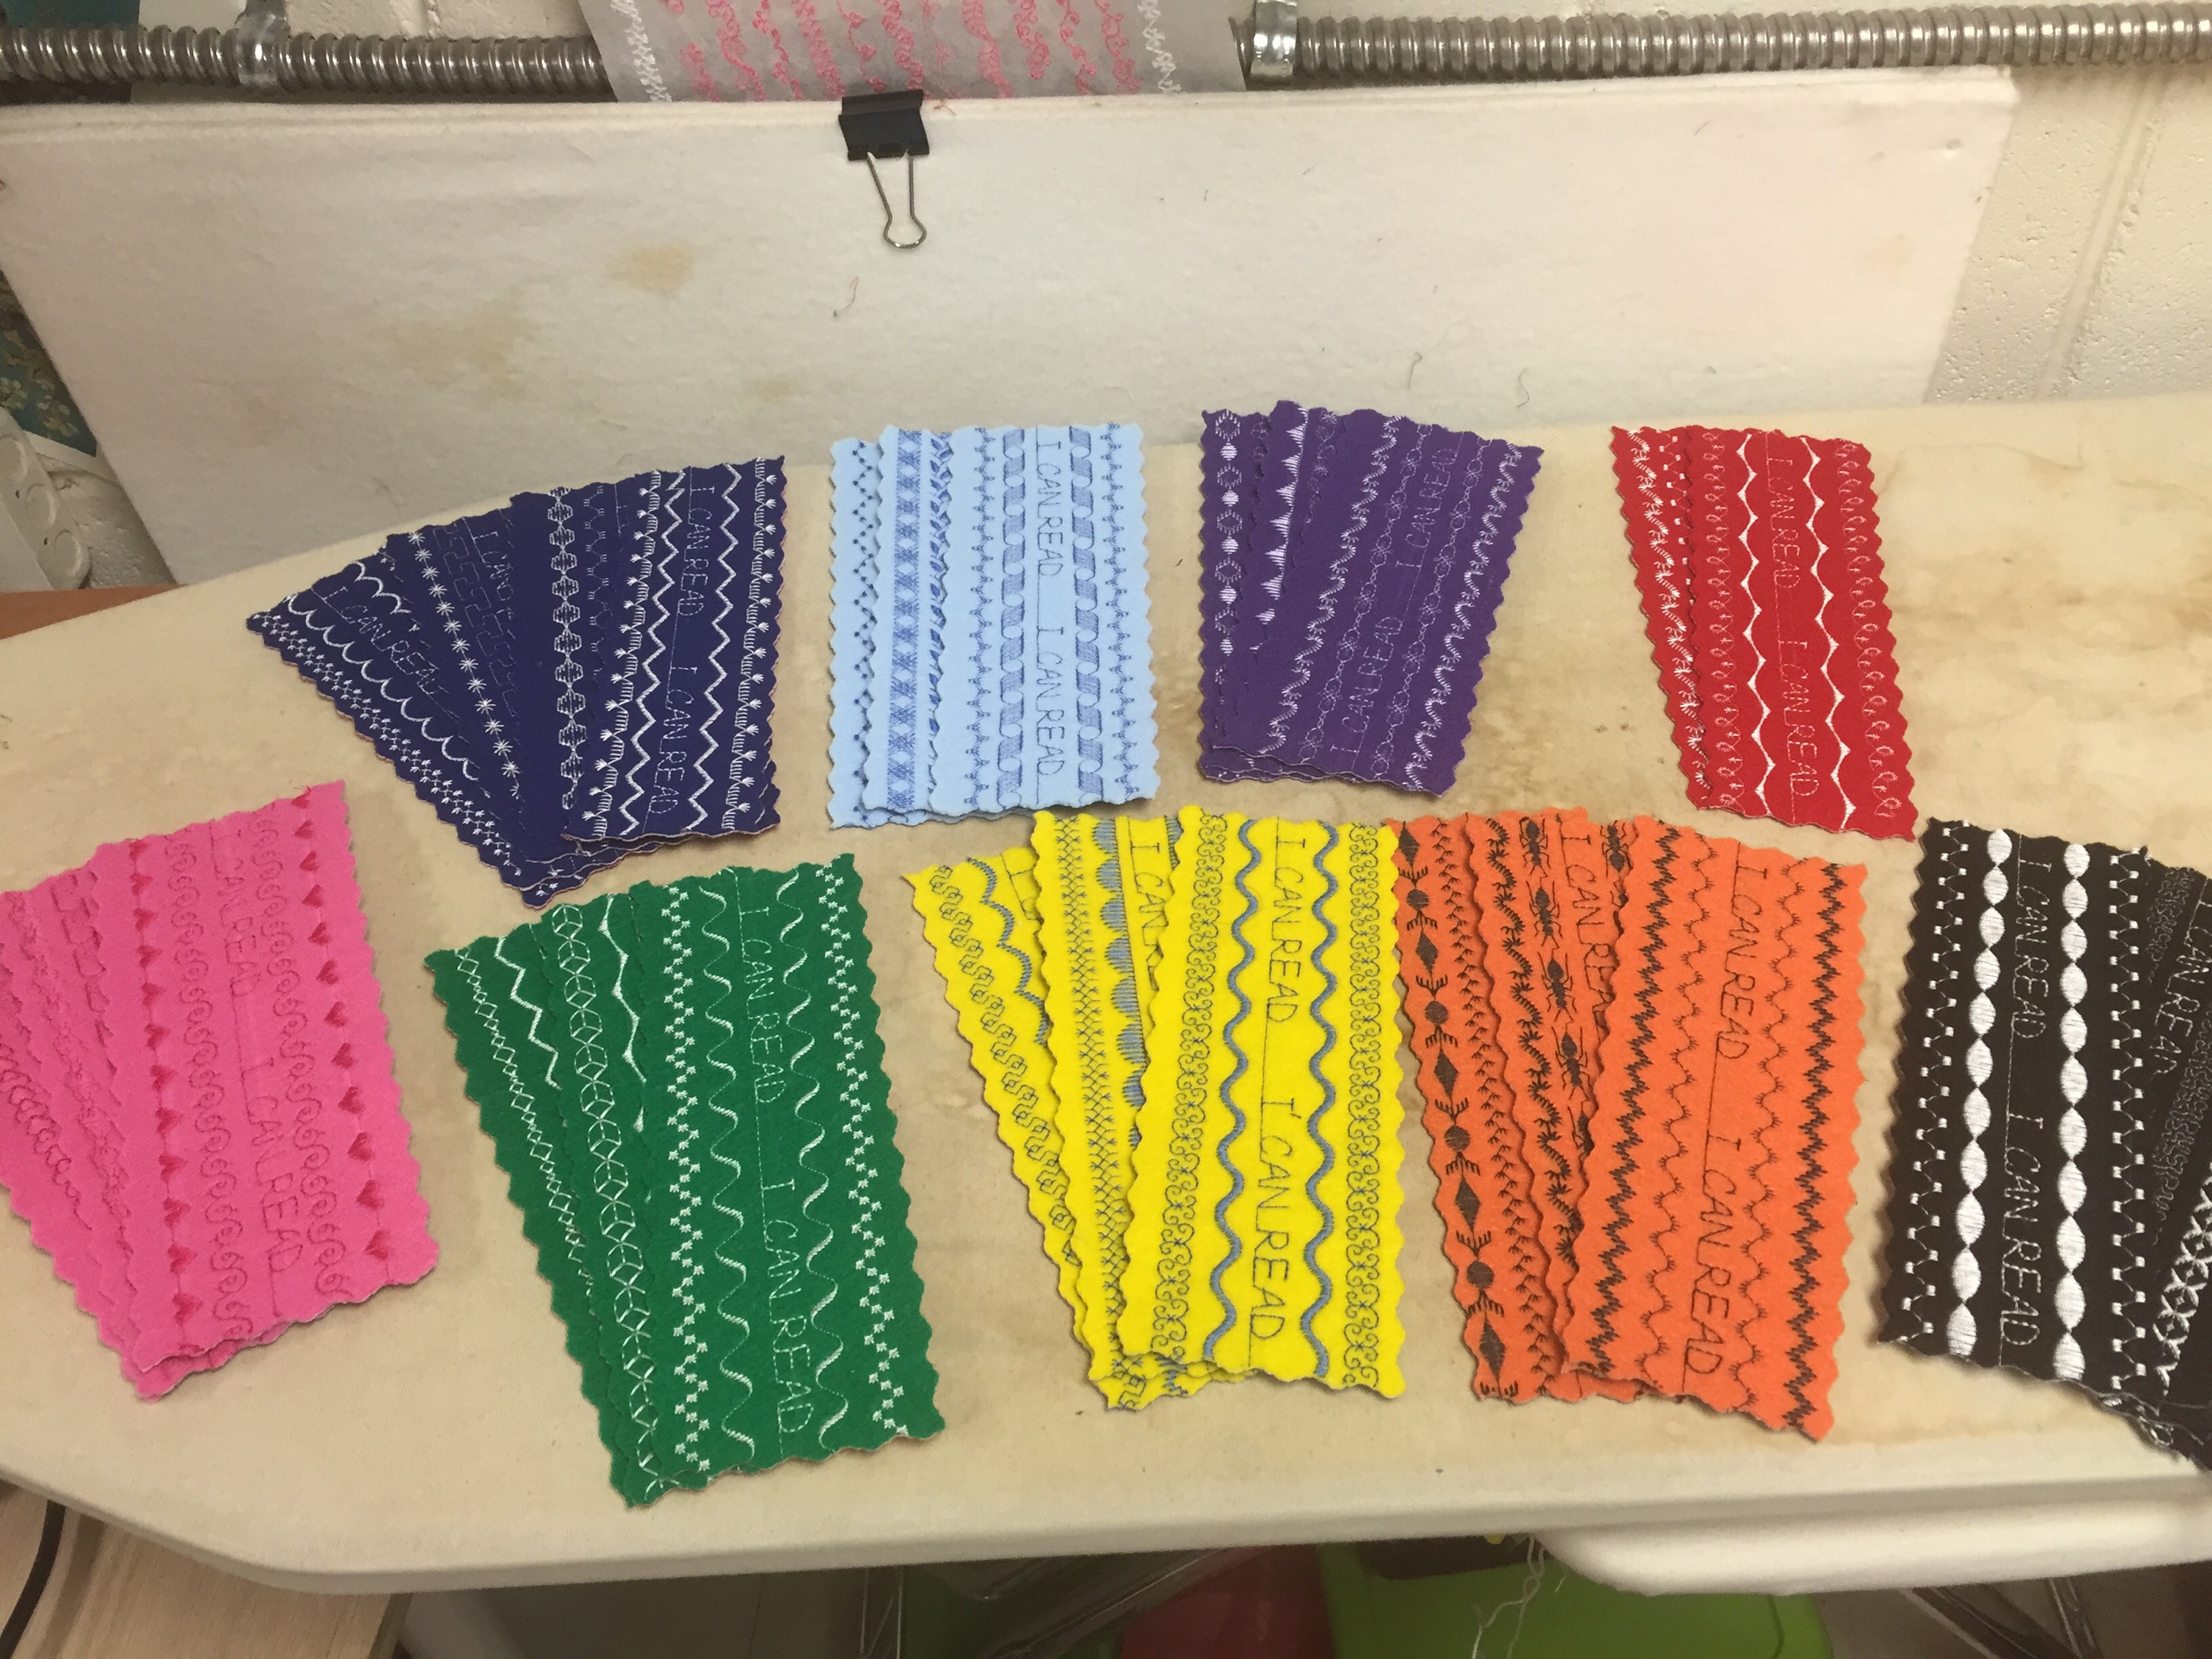
The machine embroidered bookmarks I made for Juliette’s kindergarten class. They are a surprise gift, made in each student’s favorite color, that I will give them as the year’s final Book Nook reader on Thursday. Time consuming, but so much fun to make, using lots of different decorative stitches on my Pfaff Performance 5.0 machine. They all say “I CAN READ” on them!


The 2 hour dress

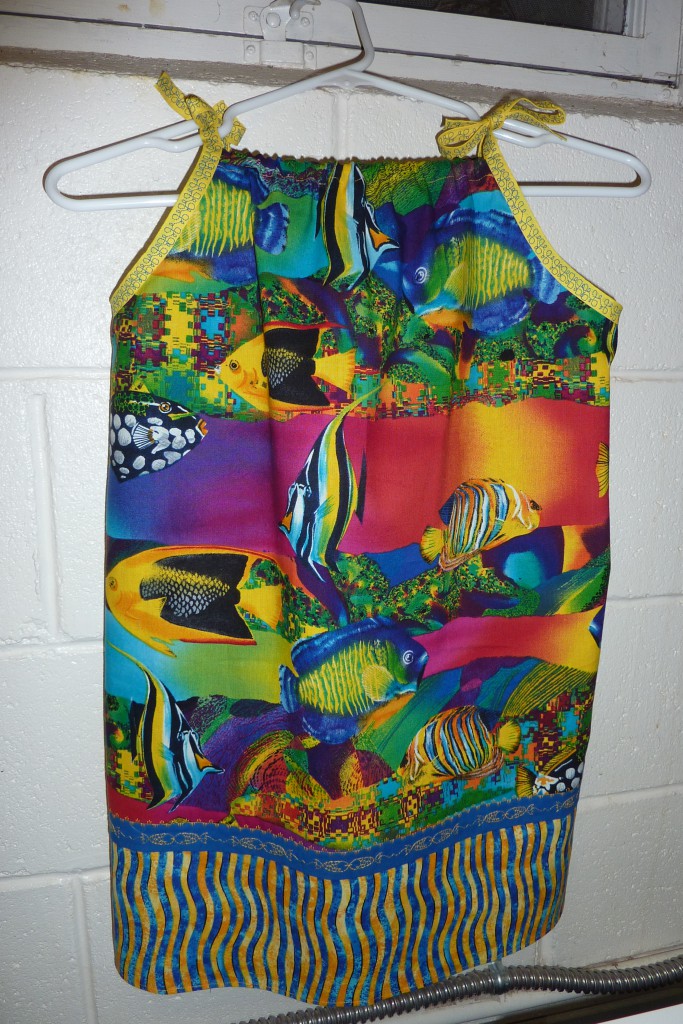
Yes, you read that right.  The two hour dress.  If I hadn’t done the decorative stitching, it would have been the hour and a half dress.  I took the bold and colorful approach, but this dress could be done many different ways, with an heirloom aesthetic or done more simply or embelished in various ways.  But I am getting ahead of myself.

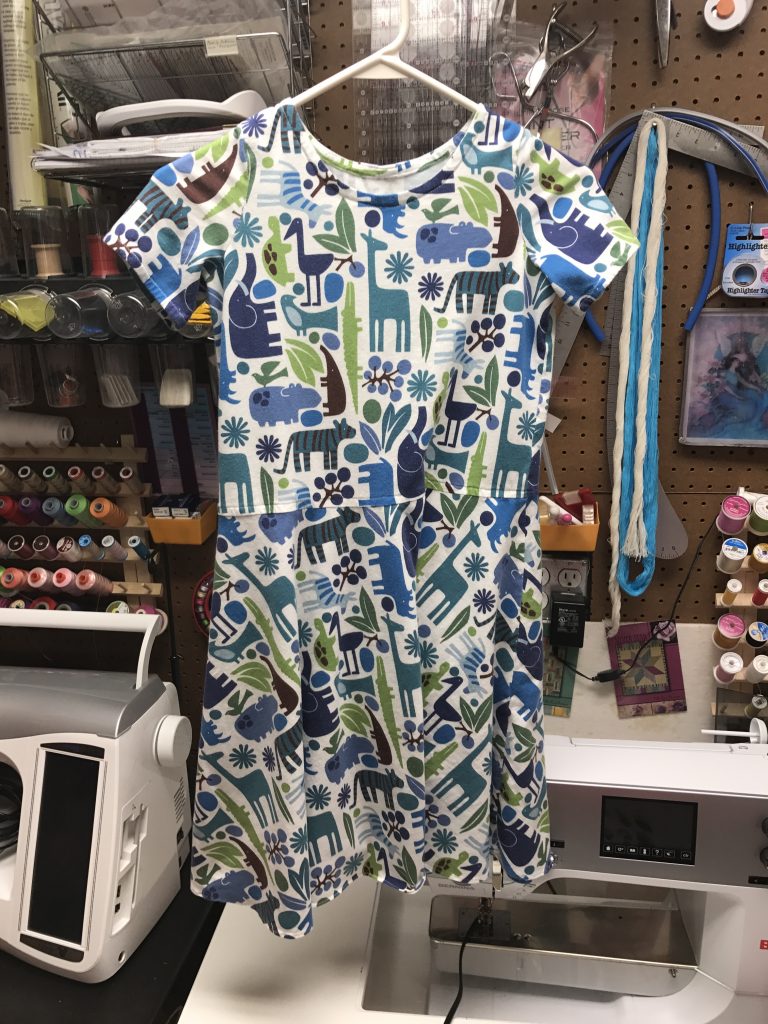
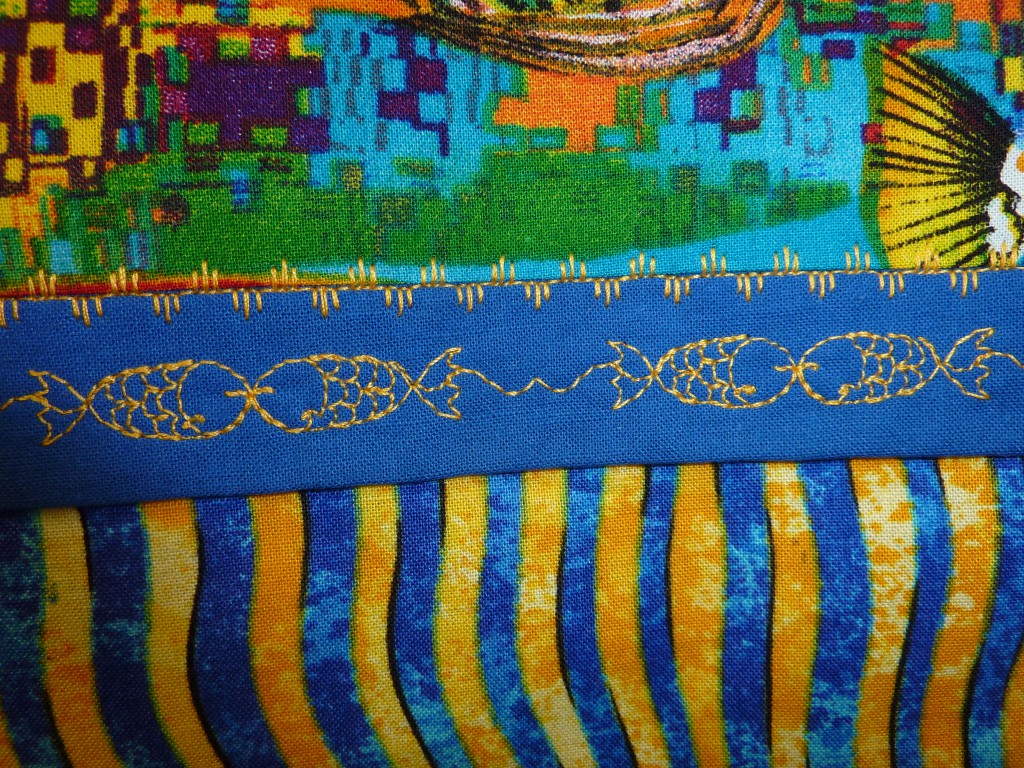
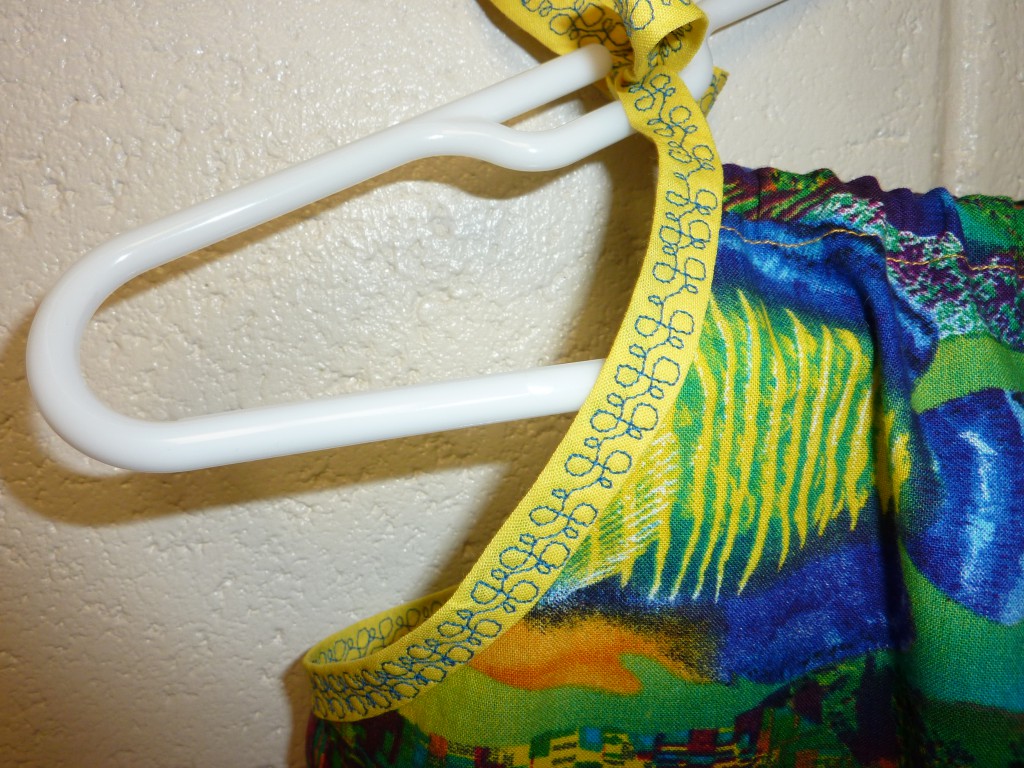
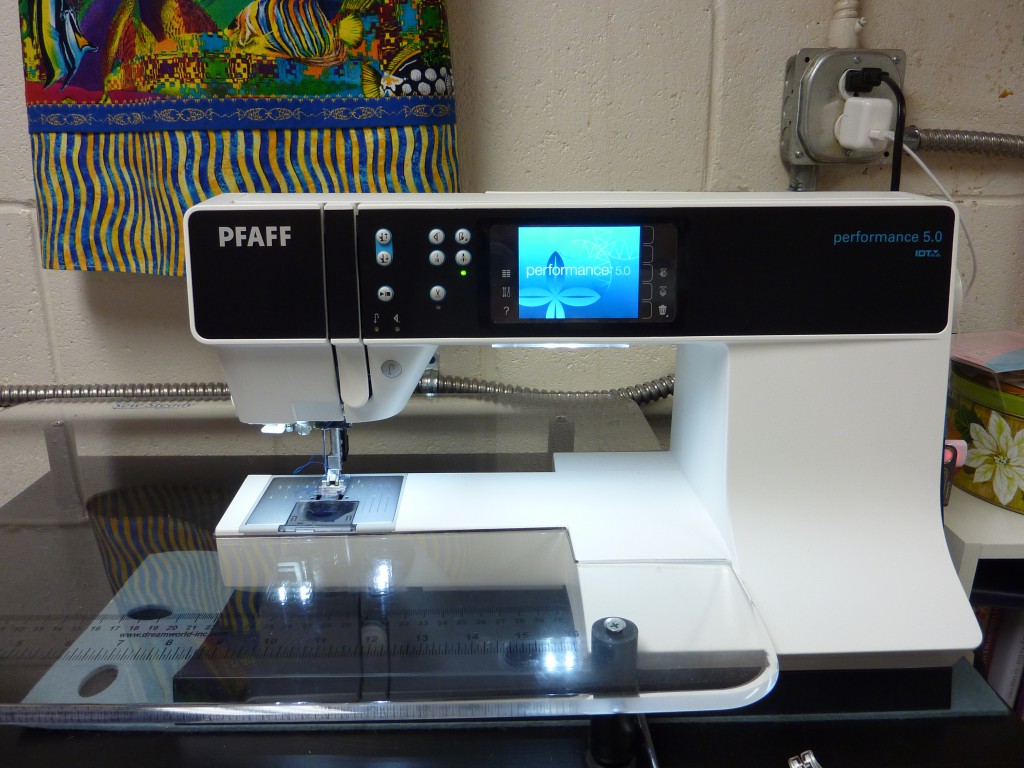
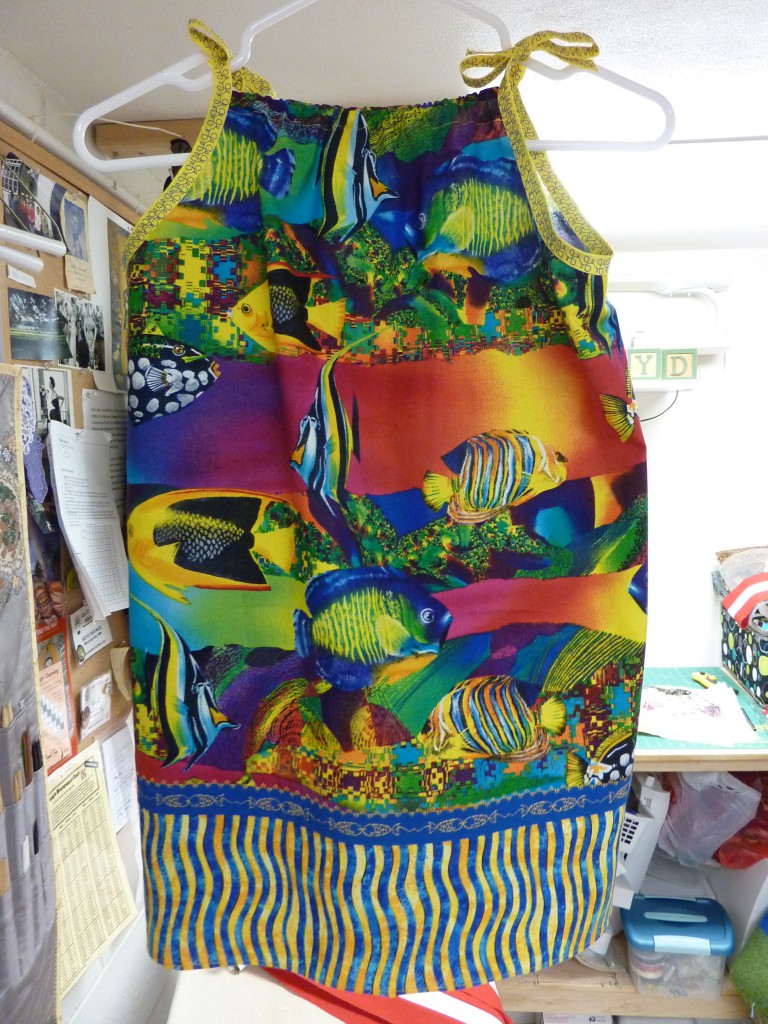
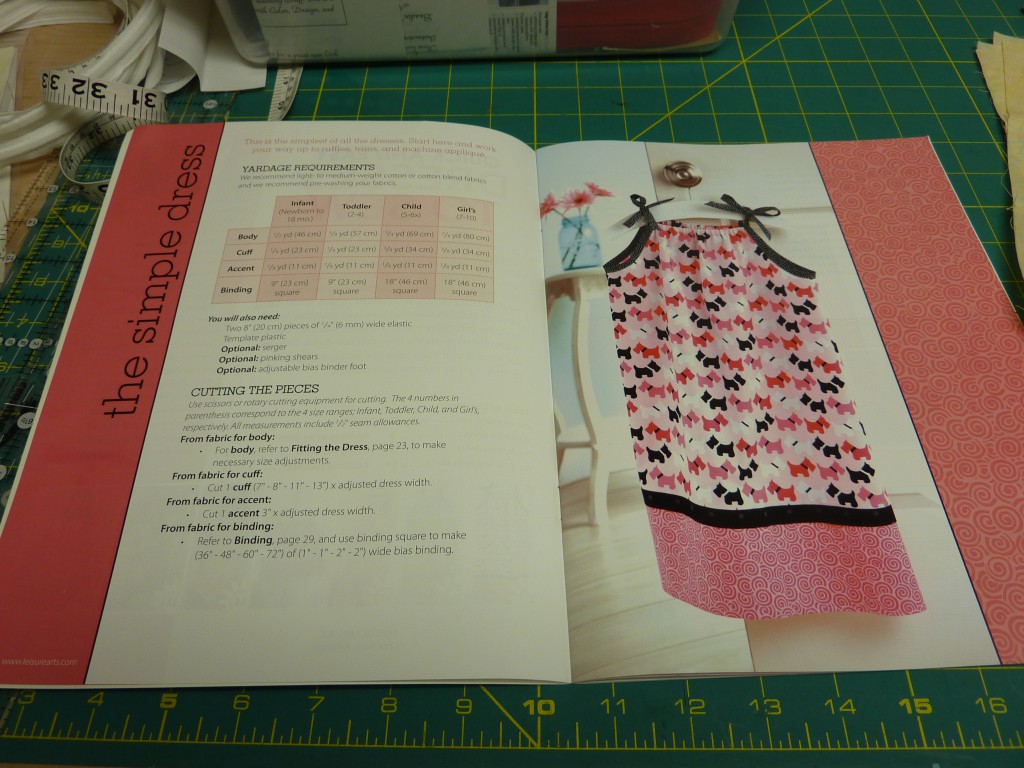
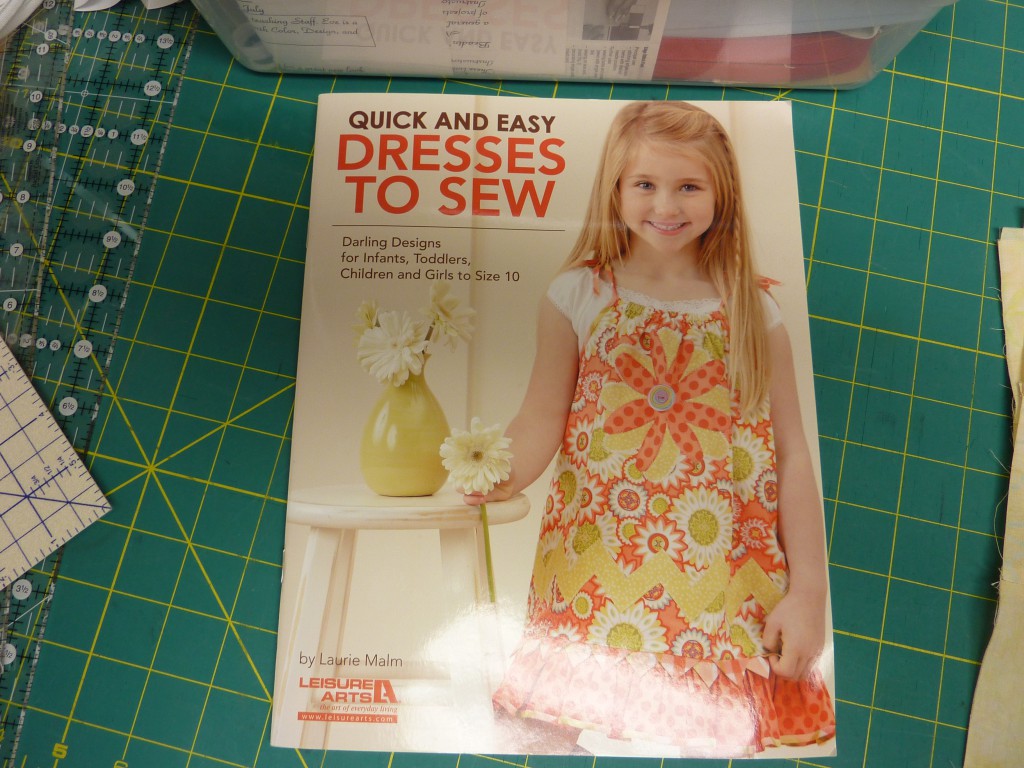
Today was one of those days where I came home feeling and sounding like a bear – and not the cute, cuddly kind.  I don’t know why I felt so out of sorts, but my supply of patience was left wanting and I just felt like I wanted to be left alone for a while.  Yesterday, I had gotten a shipment from Annie’s Catalog of some sewing notions I had been meaning to buy.  Among them was a book called “Quick and Easy Dresses to Sew” and it contained patterns for girls up to age 10.  Juliette got so excited when she saw the book and said the girl on the cover looked just like her.  We looked though it together last night and I promised her that after dinner tonight we would go pick out fabric from my stash.  She showed me what she had in mind, but they were the remnants of her old flannel receiving blankets and I told her I didn’t think with the fabric as worn as it was that would be a good idea.  But I spotted some funky fish fabric in the same bin right below, and suggested we might make her a dress out of that, which appealed to her immediately, no doubt because of the fish tank she set up with her Daddy right after Christmas.  So I measured her before we got her in her jammies, and after we got her into bed I disappeared into my sewing room.  What you see below is the result of two hour’s labor, a pattern called “The Simple Dress” that was fun and easy (and truly simple) to put together.  Made almost comlpetely on my Pfaff Performance 5.0, except that I don’t have a narrow rolled hem foot for it, so I had to do that on my Bernina, but she performed the task flawlessly (the book cheated and had you double the flounce at the botton so as not to have to hem it, but I wasn’t putting up with that!).  The Pfaff is a truly excellent and high-performance sewing machine if ever there was one.  In the slideshow below, you will see some close ups of the fish motif stitch, as well as one of the many quilt stitches, both sewn on the blue contrast band above the wide cuff at the bottom. I sewed another decorative stitch on the yellow bias tape binding around the armholes that tie into bows above the shoulder.  Just when I thought I wouldn’t be able to finish it tonigh (the white and pale blue bias tapes I had clearly were not going to cut it), I found the yellow bias tape hiding in a box of supplies and it was exactly 1 inch longer than the amount I needed – how is that for serendipity?  So this entire dress was made from fabrics, notions and supplies I had on hand, which delighted the part of me that decided a few months ago that my sewing/quilting theme for this year was going to be “use what you got.”  Never mind that snickering over there if you know about my recent quilt store outing with a couple of friends, that’s my theme, and I’m sticking to my story.  I’ve been meaning to write about that here, but I’ve left my blog to the point of neglect recently, so I am hoping to change that soon.

In other news, you will notice I have a new visual theme to my blog.  It was time.  The red a black, while certainly getting your attention, was just a little too severe – and I was just bored with it too.  I needed something different, some more me.  Purple, in all its shades, is much more me.  I hope you like it.  I’m interested in any feedback you might me willing to share.  You will notice one big difference.  The comment links are now at the bottom of each post on the right hand side, instead of being up top under the title like they were with the old theme.

OK, so it’s off to bed for me.  I hope Juliette is pleasantly surprised when she wakes up tomorrow morning and finds that papa made her a new dress while she was sleeping!  And I hope you enjoy the pictures.  The beast has definitely been calmed in the process.

The dress, she is done.P1020092
A close up of the decorative fish stitch and one of the quilting stitches used on the accent blue collar band above the cuff.P1020093
Decorative stitching in blue on the yellow bias tape binding.P1020095
Pfancy, my Pfaff Performance 5.0.  For when you need to make a dress in two hours.P1020097
Another shot of the dress.P1020098
The pattern.P1020099
The book from whence the pattern came.P1020100
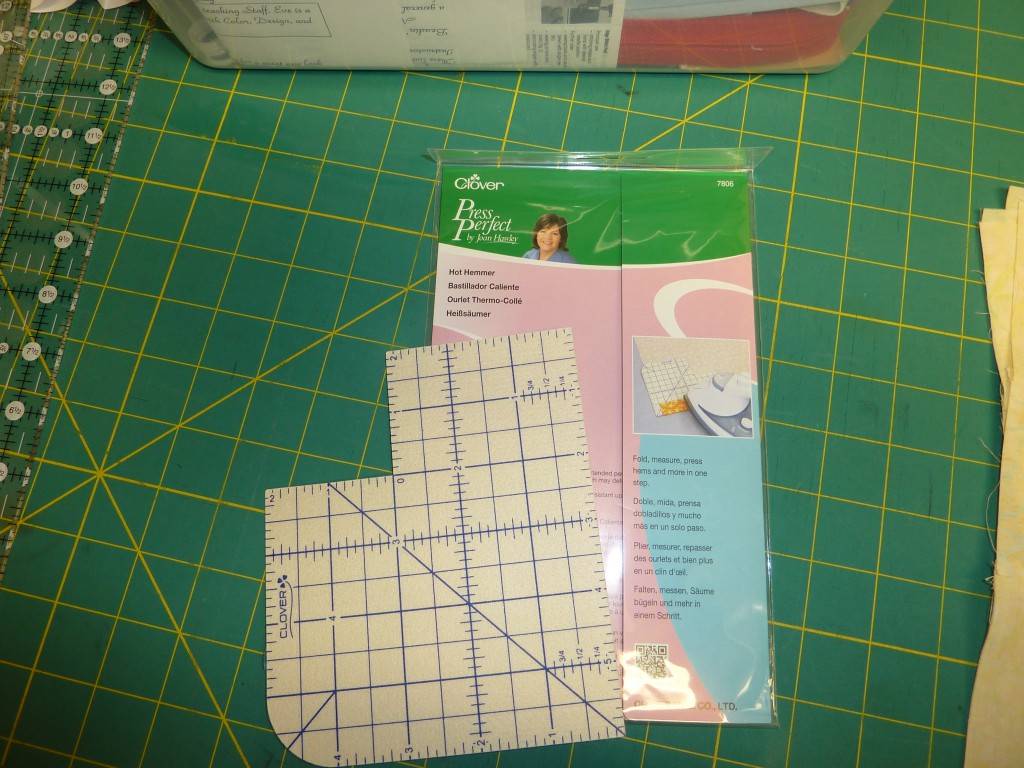
Where has this MARVELOUS tool been my entire sewing life?  It is absolutely genius!P1020101


Finished the pink shirt!

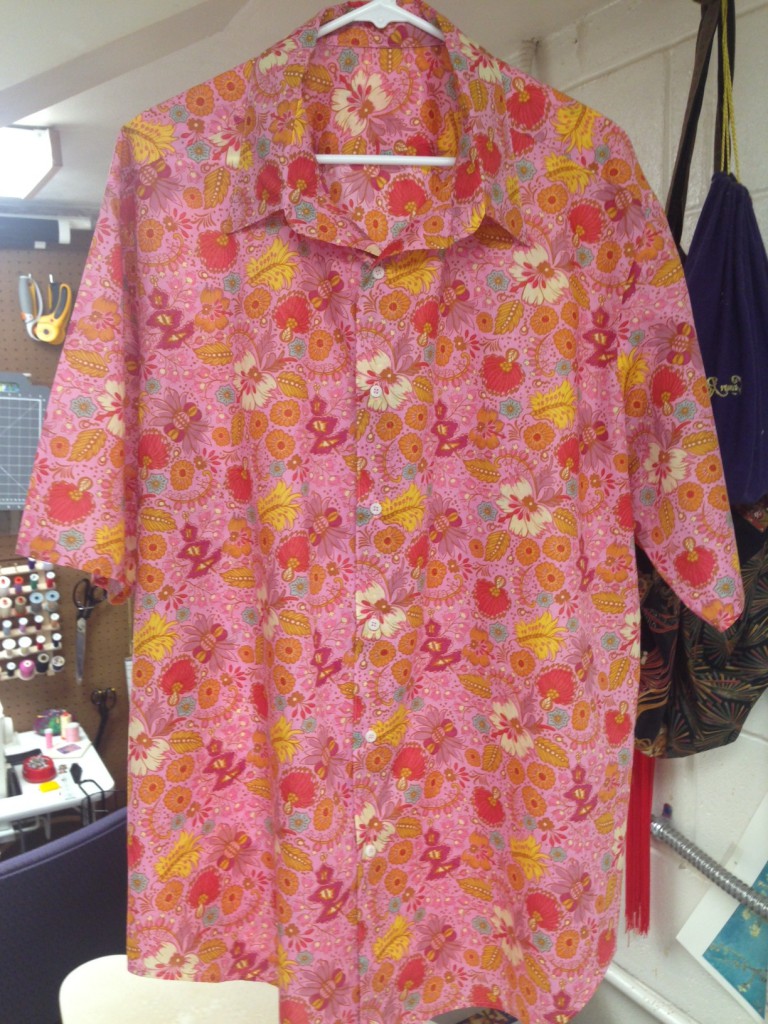
Finally!  I finally finished the pink start I started several months ago.  It’s been sitting in my sewing room waiting for me to finish the hems and make the buttonholes and sew the buttons on.  It is a Simplicity 7030 in XL and is made with one of Anna Marie Horner’s fabrics from Free Spirit, a very fine and silky cotton voile made in Korea.  The quality of the fabric is exceptional.  I used Bottom Line thread for the construction and top stitching because regular 50 weight thread was too big and the shirt really required a little more finesse in the topstitching especially.  I used the sewing journal that someone shared a long time back to record the project details, and I the Japanese basting thread – it worked superbly in basting down fine details, like setting in the collar, doing the hems, basting the plackets on the shirt front – they all just turned out wonderfully.  My only real flaw in the shirt was that I forgot to cut the organdy for the collar on the bias.  I knew better, but that’s what you get for sewing late at night because you have a little one at home.  Since I will never button the collar, it won’t be too bad, but I won’t make the same mistake again.  It fits really just the way I like and I’m very pleased.

mypinkshirt